0 PlatformIO通往卓越嵌入式软件开发的门户
利用PlatformIO的协作生态系统,发掘嵌入式软件开发的真正潜力,采用声明式原则、测试驱动方法和现代工具链,取得无与伦比的成功。
- 开放源代码、最大许可的Apache 2.0许可证
- 跨平台集成开发环境和统一调试器
- 静态代码分析器和远程单元测试
- 多平台和多架构构建系统
- 固件文件资源管理器和内存检测。
1 什么是PlatformIO?
开发和团队自由发挥!不再被供应商锁定!
PlatformIO 是一款跨平台、跨体系结构、多框架的专业工具,适用于嵌入式系统工程师和为嵌入式产品编写应用程序的软件开发人员。
1.1 荣誉
PlatformIO 荣获2015/16年度物联网大奖最佳软件和工具提名。
Microsoft PlatformIO IDE for VSCode编辑器的原生PlatformIO IDE扩展是整个 Microsoft Marketplace 中评分/评论最高的扩展,五星级评论超过2,500 条。全球有超过 3,000,000 名开发人员安装了该扩展。
https://github.com/platformio/platformio-core 7K+星。
1.2 理念
PlatformIO在嵌入式市场的独特理念为开发人员提供了现代化的集成开发环境(云和桌面集成开发环境),该环境可跨平台运行,支持多种不同的软件开发工具包(SDK)或框架,并包括复杂的调试、单元测试、自动代码分析和远程管理。它的架构最大限度地提高了开发人员的灵活性和选择性,开发人员可以使用图形或命令行编辑器(PlatformIO Core (CLI)),也可以同时使用这两种编辑器。
对于在多个特定平台上开发解决方案的专业嵌入式系统工程师来说,PlatformIO是一款必备工具。此外,PlatformIO采用分布式架构,为新老开发人员提供了快速集成的途径,以开发可用于商业用途的产品,并缩短了产品的整体上市时间。
此外,PlatformIO还可在您最喜爱的任何现代操作系统(macOS、MS Windows、Linux、FreeBSD)上运行。
1.3 技术
PlatformIO将最新的可扩展和灵活的软件技术应用于嵌入式市场,该领域传统上由复杂的软件工具提供服务,经验丰富的硬件工程师需要长期学习才能掌握这些工具(通常非常痛苦)。有了PlatformIO,用户可以是业余爱好者,也可以是专业人士。他们可以导入经典的Arduino “Blin “草图,也可以为商业产品开发复杂的底层嵌入式C程序。任何支持框架的示例代码都能在几分钟内编译并上传到目标平台。
构建系统结构可自动标记软件依赖关系,并使用模块化层次结构进行应用,从而消除了通常的复杂性和痛苦。开发人员不再需要手动查找和组装工具链、编译器和库依赖环境,就能为特定目标开发应用程序。有了PlatformIO,点击编译按钮就能自动引入所有必要的依赖项。这就好比你是一名家具设计师,而你的CAD程序有”构建”按钮,可以让机器人获取所有必要的部件和紧固件,并将它们正确地组装起来。
PlatformIO Core(CLI是独特的、从零开始开发的构建系统,它消除了开发人员在超越特定SDK或嵌入式应用实例的范围时通常会遇到的软件集成、打包和库依赖性等问题。它可与各种代码开发环境配合使用,并可与众多云平台和网络服务源轻松集成。用户在快速上手方面不会遇到任何障碍:无需许可证费用,无需法律合同。用户可以保持构建环境的充分灵活性,因为这些工具是开源的,并且获得了许可(修改这些工具不需要许可,也不要求共享修改内容)。
1.4 解决问题
人们对嵌入式世界望而却步的主要问题是为特定MCU/板设置开发软件的复杂过程:工具链、专有供应商的集成开发环境(有时不是免费的),更重要的是,要在计算机上安装支持该软件的操作系统。
- 多种硬件平台(MCU:Microcontroller Unit、板卡board)需要不同的工具链、集成开发环境等,还分别需要花时间学习新的开发环境。
- 寻找适当的库和代码示例,说明如何使用常用的传感器、执行器等。
- 团队成员之间共享嵌入式项目,无论他们喜欢使用哪种操作系统。
1.5 如何工作
在不深入探讨PlatformIO实施细节的情况下,使用 PlatformIO 开发项目的工作周期如下:
- 用户在”platformio.ini”(项目配置文件)中选择感兴趣的电路板。
- PlatformIO根据电路板列表下载所需的工具链并自动安装。
- 用户开发代码,PlatformIO 确保代码已编译、准备就绪并上传到板上。
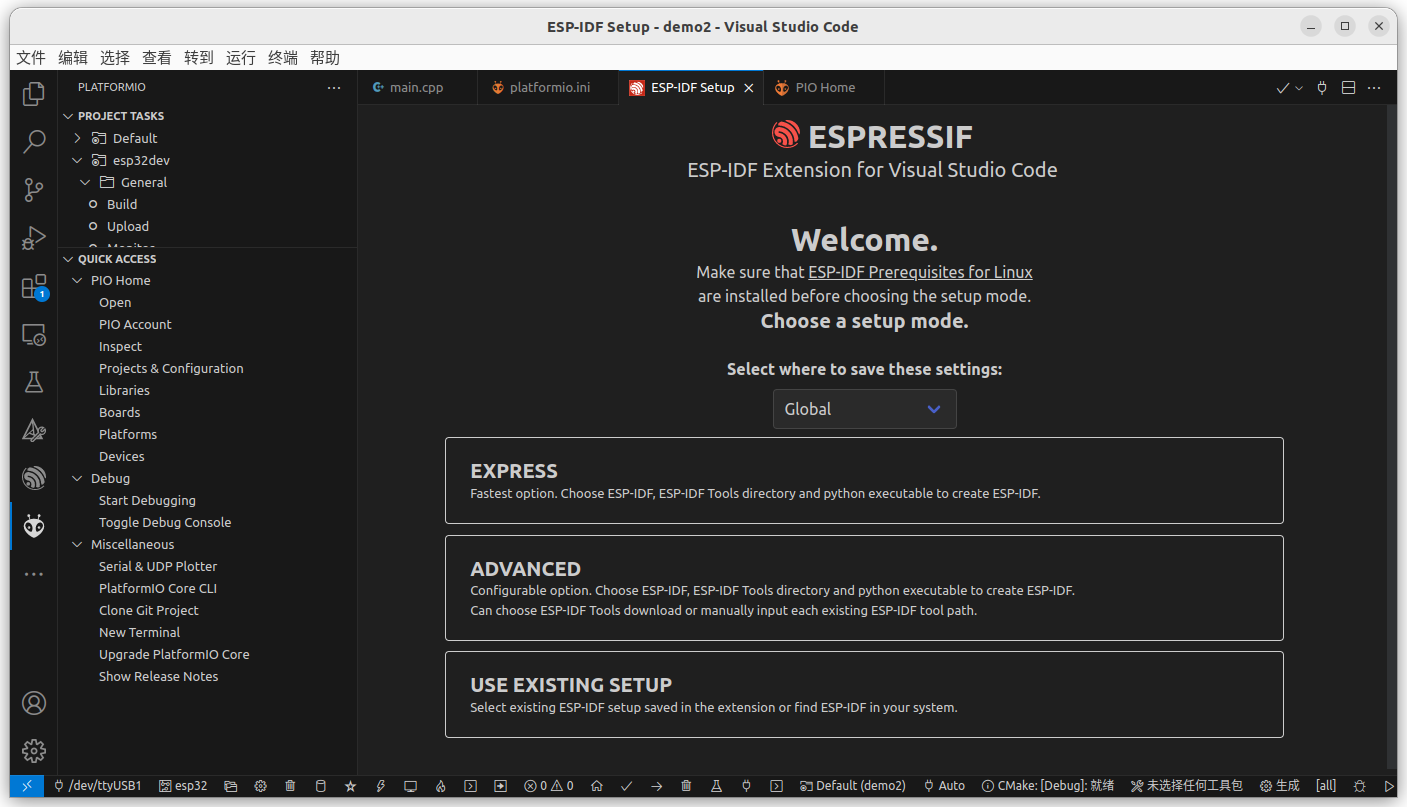
2 PlatformIO IDE
PlatformIO IDE是下一代物联网集成开发环境。
- 跨平台构建系统,与操作系统软件无外部依赖关系:
- 1,000多种板卡
- 40多个开发平台
- 20多个框架
- 调试
- 远程开发
- 单元测试
- C/C++智能代码自动完成
- 用于快速专业开发的C/C++智能代码筛选器
- 数百个常用库的库管理器
- 多窗格的多项目工作流程
- 支持深色和浅色主题
- 串行端口监控器
- 内置带有 PlatformIO Core (CLI)和 CLI 工具(pio、platformio)的终端
- 内置PlatformIO Home
我们为最流行的集成开发环境和文本编辑器提供官方软件包(插件、扩展)。
根据我们的经验,PlatformIO IDE for VSCode有更好的系统性能,用户也发现它更容易上手。
2.1 VSCode PlatformIO扩展
Visual Studio Code是一款轻量级但功能强大的源代码编辑器,可在桌面上运行,适用于 Windows、macOS 和 Linux。它内置了对JavaScript、TypeScript和Node.js的支持,并为其他语言(如 Python、C++、C#、PHP、Go)和运行时(如 .NET 和 Unity)提供了丰富的扩展生态系统。
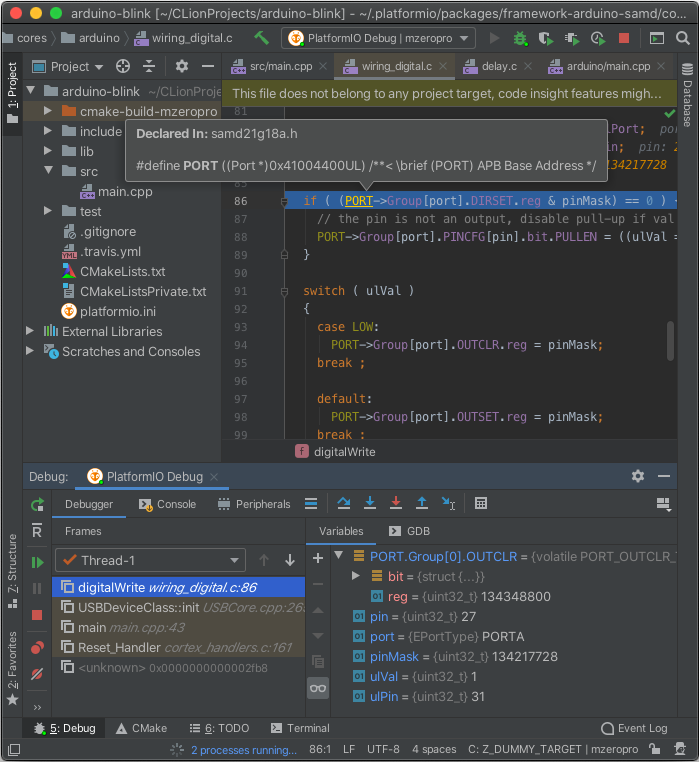
2.1 CLion PlatformIO扩展
CLion是适用于Linux、OS X和Windows的跨平台C/C++集成开发环境。CLion包括智能编辑器、代码生成、代码质量保证、自动重构、即时代码分析、项目管理器、集成版本控制系统和调试器等功能。
3 PlatformIO Core (CLI)
PlatformIO Core(CLI 工具)是整个 PlatformIO 生态系统的核心,包括
- 多平台构建系统
- 统一软件包管理器
- 库管理
- 库依赖关系查找器(LDF Library Dependency Finder)
- 串行端口监控器
- 集成组件(云和桌面集成开发环境以及持续集成)。
PlatformIO Core由Python编写,可在Windows、macOS、Linux、FreeBSD和基于ARM的信用卡大小的计算机(Raspberry Pi、BeagleBone、CubieBoard、Samsung ARTIK 等上运行。
PlatformIO Core提供内容丰富、文档齐全的命令行界面(CLI)。其他基于PlatformIO的软件和集成开发环境都基于 PlatformIO Core CLI,如 PlatformIO IDE。换句话说,它们用自己的图形用户界面包装 PlatformIO Core。
请注意,如果要使用 PlatformIO IDE,则无需安装 PlatformIO Core。PlatformIO Core 内置于 PlatformIO IDE中,您可以在PlatformIO IDE终端中使用它。
如果您需要在PlatformIO IDE之外使用 PlatformIO Core 命令,请安装 Shell Commands( https://docs.platformio.org/en/latest/core/installation/shell-commands.html#piocore-install-shell-commands )。
3.1 安装3.1.1 Super-Quick (macOS / Linux)
curl -fsSL -o get-platformio.py https://raw.githubusercontent.com/platformio/platformio-core-installer/master/get-platformio.pypython3 get-platformio.py# 或 pip install -U platformio其他系统参考 https://docs.platformio.org/en/latest/core/installation/methods/installer-script.html
PlatformIO Core(CLI)由系统中的2个独立工具组成:
- platformio 或 pio(简称)
- piodebuggdb – pio调试
Linux 用户必须为支持 PlatformIO 的板卡/设备安装 udev 规则。最新版本的规则可在 https://raw.githubusercontent.com/platformio/platformio-core/develop/platformio/assets/system/99-platformio-udev.rules 上找到。
请检查您的板卡的PID和VID是否列在规则中。您可以使用pio device lis 命令列出已连接的设备及其PID/VID。
该文件必须放置在/etc/udev/rules.d/99-platformio-udev.rules (首选位置)或 /lib/udev/rules.d/99-platformio-udev.rules (某些坏系统需要)。
请打开系统终端并键入
curl -fsSL https://raw.githubusercontent.com/platformio/platformio-core/develop/platformio/assets/system/99-platformio-udev.rules | sudo tee /etc/udev/rules.d/99-platformio-udev.rules或手动下载文件并复制到目标文件夹
sudo cp 99-platformio-udev.rules /etc/udev/rules.d/99-platformio-udev.rules重启 “udev “管理工具:
sudo service udev restart或
sudo udevadm control --reload-rulessudo udevadm trigger如果 Ubuntu/Debian 用户不是 “root”,可能需要将自己的 “username “添加到 “dialout “组。
sudo usermod -a -G dialout $USERsudo usermod -a -G plugdev $USER同样,Arch 用户可能需要将自己的用户添加到 “uucp “组中
sudo usermod -a -G uucp $USERsudo usermod -a -G lock $USER注意您需要注销并重新登录(或重启)用户组更改才能生效。
安装此文件后,拔下并重新连接板卡。
参考资料
- 软件测试精品书籍文档下载持续更新 https://github.com/china-testing/python-testing-examples 请点赞,谢谢!
- 本文涉及的python测试开发库 谢谢点赞! https://github.com/china-testing/python_cn_resouce
- python精品书籍下载 https://github.com/china-testing/python_cn_resouce/blob/main/python_good_books.md
- Linux精品书籍下载 https://www.cnblogs.com/testing-/p/17438558.html
- https://docs.platformio.org/en/latest
3.1.1.1 与自定义应用程序(扩展、插件)集成
当您将PlatformIO Core集成到应用程序(如集成开发环境的扩展或插件)中时,我们建议您使用PlatformIO Core安装程序脚本。
3.1.1.1.1 前提条件
- Python解释器
PlatformIO Core安装脚本由Python编写,兼容Python 2.7+和Python 3.5+。我们强烈建议使用最新的Python 3。
- 安装程序脚本
将get-platformio.py文件捆绑到您的应用程序中;或按需下载 get-platformio.py 文件。
在这两种情况下您都需要在最终用户机器上安装get-platformio.py脚本。您可以将其复制或下载到缓存/临时文件夹中。
帮助:
$ python get-platformio.py --helpUsage: get-platformio.py [OPTIONS] COMMAND [ARGS]...Options: --version Show the version and exit. --verbose Verbose output --shutdown-piohome / --no-shutdown-piohome --dev --ignore-python TEXT A path to Python to be ignored (multiple options and unix wildcards are allowed) --pypi-index-url TEXT Custom base URL of the Python Package Index (default `https://pypi.org/simple`) --help Show this message and exit.Commands: check pack3.1.1.1.2 Workflow
我们将介绍一个简单的工作流程,说明如何为应用程序/扩展的最终用户自动安 PlatformIO Core (CLI)。
- 步骤1. PlatformIO Core安装在何处?
每次用户启动应用程序时,您都应检查 PlatformIO Core的安装状态。您需要调用带有检查核心参数的安装程序脚本:
$ python get-platformio.py check coreFound compatible PlatformIO Core 6.1.10 -> /home/andrew/.platformio/penv/bin/platformio如果需要 PlatformIO Core 安装状态的完整信息,请使用 –dump-state 选项运行,并指定一个文件夹或完整路径,以 JSON 格式保存数据:
python get-platformio.py check core --dump-state pioinstaller-state.jsonFound compatible PlatformIO Core 6.1.10 -> /home/andrew/.platformio/penv/bin/platformio$ cat pioinstaller-state.json {"core_version": "6.1.10", "python_version": "3.10.12", "core_dir": "/home/andrew/.platformio", "cache_dir": "/home/andrew/.platformio/.cache", "penv_dir": "/home/andrew/.platformio/penv", "penv_bin_dir": "/home/andrew/.platformio/penv/bin", "platformio_exe": "/home/andrew/.platformio/penv/bin/platformio", "installer_version": "1.2.1", "python_exe": "/home/andrew/.platformio/penv/bin/python", "system": "linux_x86_64", "is_develop_core": false}现在,读取JSON文件并使用platformio_exe 二进制文件通过 CLI 调用 PlatforIO Core(参见 CLI 指南)。也可以在系统环境PATH变量中导出 penv_bin_dir,这样 platformio 命令就无需完整路径即可使用了。
- 步骤2安装 PlatformIO Core
要以自动模式将PlatformIO Core安装到虚拟环境中,请调用安装程序脚本,无需任何参数:
3.1.1.1.3 实例
参见https://github.com/platformio/platformio-node-helpers
3.2 快速入门
本节将向您介绍 PlatformIO Core (CLI) 命令行界面 (CLI)工作流程的基础知识,并向您展示一个简单的跨平台 “Blink “项目的创建过程。学完之后,您将对如何使用多种开发平台和嵌入式板有一个大致的了解。
3.2.1 设置项目(工程)
PlatformIO Core (CLI)为配置项目提供了特殊的 pio project init 命令。它允许初始化新的空项目或使用新数据更新现有项目。
此外pio project init 可用于云和桌面 IDE。这意味着您可以使用最喜欢的集成开发环境导入预生成的PlatformIO 项目,并使用物联网开发的专业工具对其进行扩展。
本教程基于ESP8266。
3.2.2 板识别
$ pio boards teensyPlatform: teensy=================================================================================================================================================================ID MCU Frequency Flash RAM Name--------- ----------- ----------- ------- -------- ------------------------teensymm IMXRT1062 600MHz 7.75MB 512KB SparkFun MicroMod Teensyteensy2 ATMEGA32U4 16MHz 31.50KB 2.50KB Teensy 2.0teensy30 MK20DX128 48MHz 128KB 16KB Teensy 3.0teensy31 MK20DX256 72MHz 256KB 64KB Teensy 3.1 / 3.2teensy35 MK64FX512 120MHz 512KB 255.99KB Teensy 3.5teensy36 MK66FX1M0 180MHz 1MB 256KB Teensy 3.6teensy40 IMXRT1062 600MHz 1.94MB 512KB Teensy 4.0teensy41 IMXRT1062 600MHz 7.75MB 512KB Teensy 4.1teensylc MKL26Z64 48MHz 62KB 8KB Teensy LCteensy2pp AT90USB1286 16MHz 127KB 8KB Teensy++ 2.0根据上表,Teensy3.1/3.2的ID是teensy31。此外,Arduino Uno的ID是 uno,NodeMCU 1.0(ESP-12E 模块)的 ID 是 nodemcuv2。
3.2.3 初始化项目
PlatformIO生态系统包含一个大型数据库,其中有最常用嵌入式板的预配置设置。它可以帮助您省去安装工具链、编写构建脚本或配置上传过程的麻烦。只需告诉PlatformIO板ID,您就会收到包含预装工具的完整工作项目,用于专业开发。
$ mkdir tmp_8266$ cd tmp_8266$ pio project init --board uno --board nodemcuv2 --board teensy31The following files/directories have been created in /home/andrew/tmp_8266include - Put project header files herelib - Put project specific (private) libraries heresrc - Put project source files hereplatformio.ini - Project Configuration FileResolving uno dependencies...Platform Manager: Installing atmelavrDownloading [####################################] 100%Unpacking [####################################] 100%Platform Manager: atmelavr@4.2.0 has been installed!Tool Manager: Installing platformio/toolchain-atmelavr @ ~1.70300.0Downloading [####################################] 100% Unpacking [####################################] 100%Tool Manager: toolchain-atmelavr@1.70300.191015 has been installed!Tool Manager: Installing platformio/framework-arduino-avr @ ~5.1.0Downloading [####################################] 100% Unpacking [####################################] 100%Tool Manager: framework-arduino-avr@5.1.0 has been installed!Resolving nodemcuv2 dependencies...Platform Manager: Installing espressif8266Downloading [####################################] 100%Unpacking [####################################] 100%Platform Manager: espressif8266@4.2.1 has been installed!Tool Manager: Installing platformio/toolchain-xtensa @ ~2.100300.220621Downloading [####################################] 100% Unpacking [####################################] 100%Tool Manager: toolchain-xtensa@2.100300.220621 has been installed!Tool Manager: Installing platformio/framework-arduinoespressif8266 @ ~3.30102.0Downloading [####################################] 100% Unpacking [####################################] 100%Tool Manager: framework-arduinoespressif8266@3.30102.0 has been installed!Tool Manager: Installing platformio/tool-esptool @ <2Downloading [####################################] 100%Unpacking [####################################] 100%Tool Manager: tool-esptool@1.413.0 has been installed!Tool Manager: Installing platformio/tool-esptoolpy @ ~1.30000.0Downloading [####################################] 100% Unpacking [####################################] 100%Tool Manager: tool-esptoolpy@1.30000.201119 has been installed!Resolving teensy31 dependencies...Platform Manager: Installing teensyDownloading [####################################] 100% Unpacking [####################################] 100%Platform Manager: teensy@4.18.0 has been installed!Tool Manager: Installing platformio/toolchain-gccarmnoneeabi-teensy @ ~1.110301.0Downloading [####################################] 100% Unpacking [####################################] 100% Tool Manager: toolchain-gccarmnoneeabi-teensy@1.110301.0 has been installed!Tool Manager: Installing platformio/framework-arduinoteensy @ ~1.158.0Downloading [####################################] 100% Unpacking [####################################] 100%Tool Manager: framework-arduinoteensy@1.158.0 has been installed!Project has been successfully initialized!$ ls -R.:include lib platformio.ini src test./include:README./lib:README./src:./test:README恭喜!您刚刚创建了第一个基于PlatformIO的项目,其结构如下:
- “platformio.ini”(项目配置文件)
- src 目录,用于放置源代码(.h、.c、.cpp、.S、*.ino 等)。
- lib 目录可用于存放项目专用(私有)库。更多详情请参见 lib/README 文件。
- 支持 VCS 和持续集成的其他文件。
如果需要在现有项目中添加新电路板,请再次使用pio project init。
刚刚生成的 latformio.ini的结果:
; PlatformIO Project Configuration File;; Build options: build flags, source filter; Upload options: custom upload port, speed and extra flags; Library options: dependencies, extra library storages; Advanced options: extra scripting;; Please visit documentation for the other options and examples; https://docs.platformio.org/page/projectconf.html[env:uno]platform = atmelavrboard = unoframework = arduino[env:nodemcuv2]platform = espressif8266board = nodemcuv2framework = arduino[env:teensy31]platform = teensyboard = teensy31framework = arduino现在,我们需要创建main.cpp文件,并将其放到新创建项目的src文件夹中。src/main.cpp 的内容:
/** * Blink * * Turns on an LED on for one second, * then off for one second, repeatedly. */#include "Arduino.h"#ifndef LED_BUILTIN#define LED_BUILTIN 13#endifvoid setup(){ // initialize LED digital pin as an output. pinMode(LED_BUILTIN, OUTPUT);}void loop(){ // turn the LED on (HIGH is the voltage level) digitalWrite(LED_BUILTIN, HIGH); // wait for a second delay(1000); // turn the LED off by making the voltage LOW digitalWrite(LED_BUILTIN, LOW); // wait for a second delay(1000);}最终的项目结构:
project_dir├── lib│ └── README├── platformio.ini└── src └── main.cpp3.2.3 项目处理
PlatformIO Core (CLI) 提供特殊的 pio run 命令来处理项目。如果不带任何参数调用该命令,PlatformIO 编译系统将处理所有项目环境(这些环境是根据上述指定的每个板创建的)。下面是一些有用的命令:
- pio run. 处理(构建)”platformio.ini”(项目配置文件)中指定的所有环境
- pio run –target upload。构建项目并将固件上传到 “platformio.ini”(项目配置文件)中指定的所有设备上
- pio run –target clean. 清理项目(删除编译对象)
- pio run -e uno. 仅处理 uno 环境
- pio run -e uno -t upload。仅为 uno 构建项目并上传固件。
其他目标请参考 pio run –list-targets 文档。
3.2.4 更多参考
- 项目示例 https://github.com/platformio/platformio-examples/tree/develop
3.3 命令简介

钉钉或微信号: pythontesting 微信公众号:pythontesting